How to make gorgeous aged wood stain with natural ingredients from your pantry and without the price tag and hassle of store bought wood stain.
I unlocked the code to the best natural wood stain, and it is AWESOMESAUCE! (Do we still say that word?)
Yesterday, I conducted a little experiment in my kitchen on our upcoming bathroom plank wall project.

And I discovered that I am never going back to staining wood as long as I can help it. This method rocked my world, y’all!
I’d heard about several variations of wood oxidation before, so I put them to the test to find that perfect barnwood finish.
It took all of 30 minutes of “labor”, was really easy clean-up, didn’t require the use of any harsh synthetic chemicals, and only cost me $2 since most of what I needed was already hanging out in my pantry.
Boom, baby! That’s what I’m talkin’ about.

Perfecting the Color of Natural Wood Stain
Going into this little experiment, I knew I was looking for a rich wood tone with a little hint of gray.
On a scrap piece of wood, I tried all kinds of combinations of mixing steel wool grades and types of vinegar, and discovered that 0000 grade steel wool is the best for the impatient DIYer who doesn’t want to wait an entire week to do this.
Apple cider vinegar gives a more gray tint than the white distilled kind.
Brushing wood with coffee brings out more of the brown tones of wood while black tea brings out the gray.
In the end, this was the winning method for me.
DIY Natural Wood Stain
Ingredients to Make Natural Wood Stain
- 2 cups of boiling water
- 4 family size tea bags (I used these Luzianne tea bags if you want to be really specific.)
- 1 steel wool pad of 0000 grade (I use these.)
- 16 ounces of apple cider vinegar (White House brand to be exact.)
- 2 cheap chip brushes
Steps
1. To prep it, I let the 4 tea bags steep in the 2 cups of boiling water for 24 hours to make it really strong (I left the tea bags in the entire time).
2. For the oxidizing stain, I combined the steel wool pad and vinegar in a bowl and let it sit for 24 hours too.
Then the fun began!

3. After 24 hours, when I was ready to stain, to pull the tanins out of the wood, I brushed it all down with the tea and let it sit for an hour.

(Below) The left 3 planks are plain and the right 3 planks are brushed with the tea.

4. After the hour mark, I brushed the wood with the steel wool / apple cider vinegar mixture, and it instantly turned gray. I was nearly jumping up and down with excitement. (I get excited over things that many “normal” people would probably think is crazy.)

5. 5 minutes later, the color deepened and I knew it was going to be gorgeous!

After 15 minutes…

…and 30 minutes…

…and 1 hour, I had my perfectly aged wood. Insert fan girl squeal!
There were a few spots I had to go back over and apply a little more of the oxidizing stain that left a few blotches, but I’ll sand them down a bit to even it out. And I think the imperfections give it a more realistic barn wood look anyway.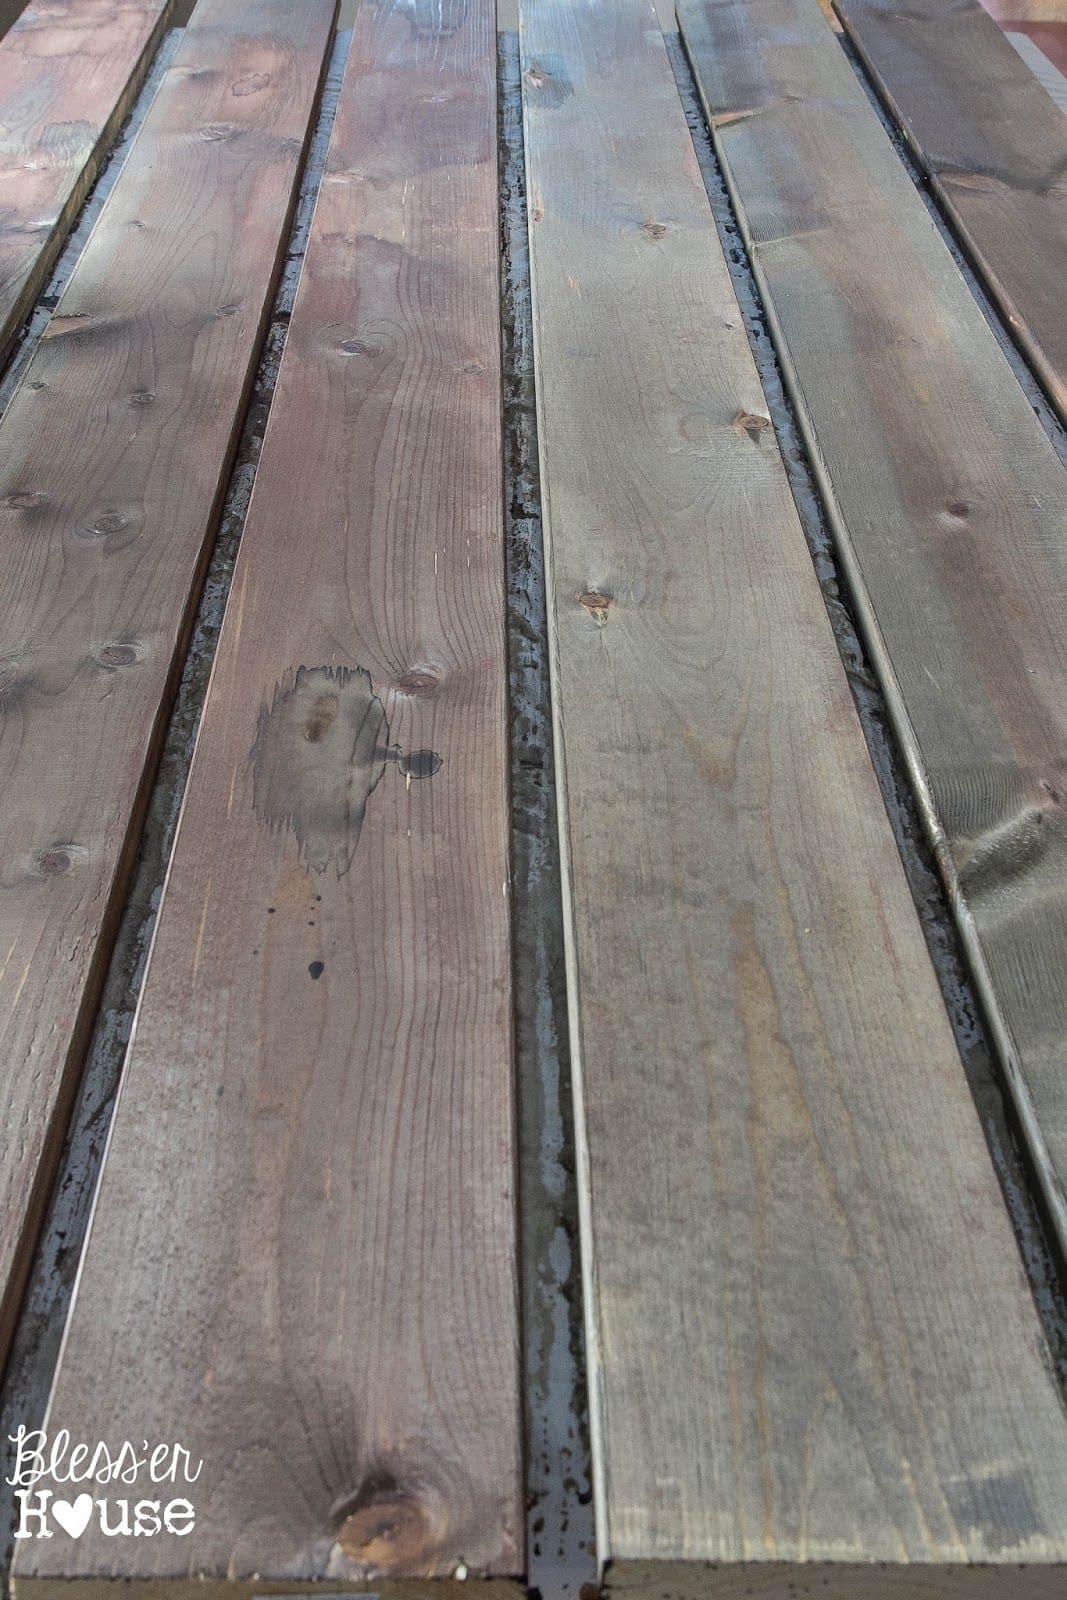
It almost reminds me of that glorious wood from my in-laws’ “magic barn” that I’m a bit infatuated with.
I’m so ready to get this plank wall up in our bathroom now! I might have to celebrate with something crazy like a science lab rocket launch. 😉
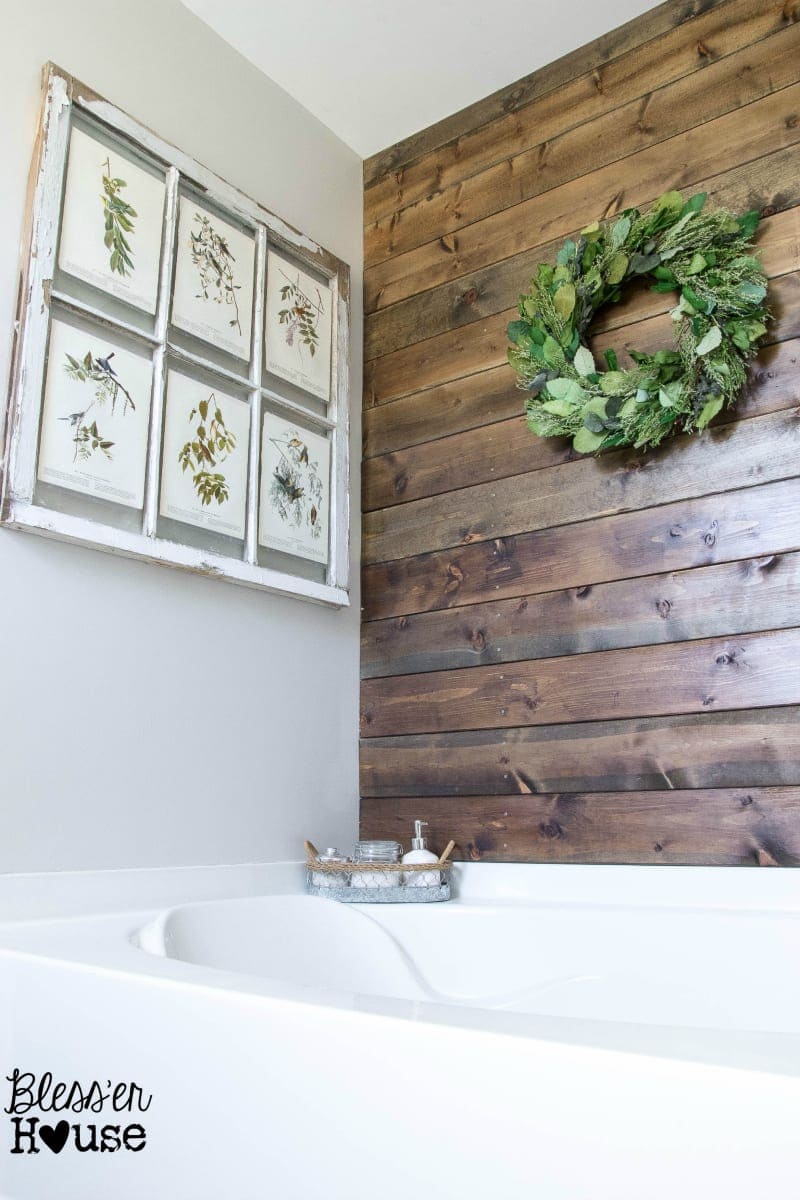
You can see how our DIY natural wood stained plank wall turned out here!
And we used the same staining method on our DIY wood beam doorway!


- The Best Gold Spray Paints – Ranked
- DIY Faux Driftwood Outdoor Dining Table Makeover
- DIY Window Box from Repurposed Scrap Wood
- How to Restore Wood Outdoor Furniture
- Painted Weathered Wood Bed Makeover
- DIY Wood Beam Doorway
The post The Most Inexpensive DIY Natural Wood Stain appeared first on Bless'er House.